Sunday, 22 November 2015

Revamped Chest

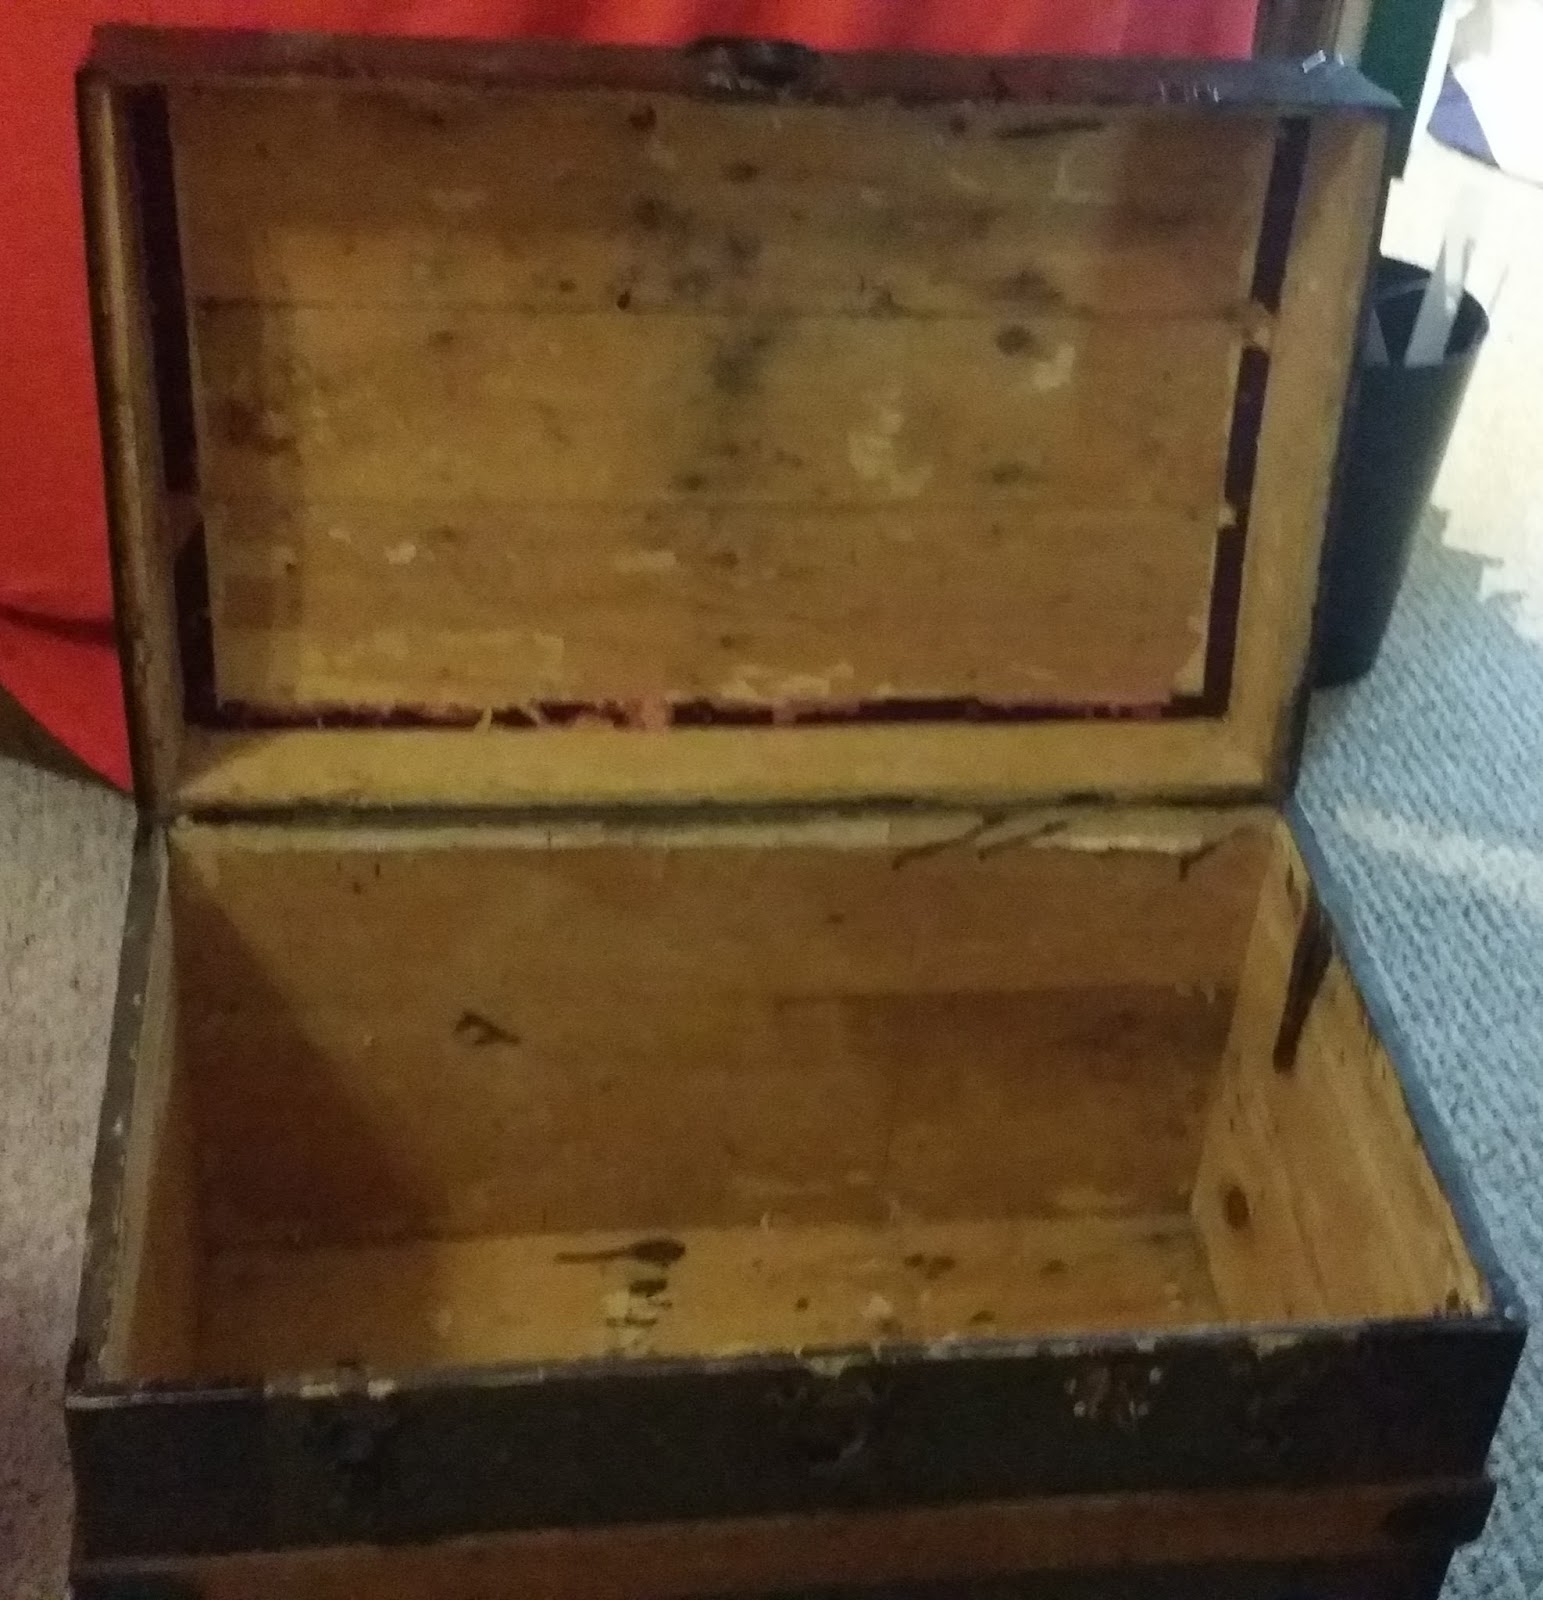
I found this great old chest at a garage sale for very little money. It smelled old and was lined with painted paper. I removed the paper by spraying it with a water vinegar mixture and scrapped it once the mixture had soaked in. I would have used just water but vinegar helps kill bacteria and reduces the mildew smell.
 
Once I removed the paper I left the chest to dry in a warm room. I also used a no damp - they are often used in the marine industry during winter. You can probably pick one up at your local marina or Canadian tire and it absorbs moisture. I left the chest for a few days.
 
I then used some odor eliminators made of bamboo charcoal and Kanberra Gel. Kanberra Gel is a tea tree based odor eliminator and bacteria killer. By the time I was done, the chest smelled as good as new.
 
 
The next step to transforming my chest was lining it. To do so I measured all the sides and cut Bristol board to fit. My measurements were a bit off so I had to trim here and there but eventually they all fit. I wrote where they belonged (LH side, RH side, front back, lid) on the front with an arrow pointing to the top. In the future I would write it in the back of the cut-out because I ended up covering the words with fabric.
 
 
Once I had all of the cardboard cut outs, I cut my fabric. I made it at least one inch wider on every side. I could have made a concerted effort to match the image so that it flowed but I chose not to. Once I cut out the fabric, I started gluing.
 
 
Originally I was going to use double sided sticky tape to attach the fabric but unfortunately my double sided sticky tape was single sided tape - which took me forever to figure out because I just thought it was ill made and hard to get the backing off. Double sided tape is also good for securing fabric to cardboard, in visible areas, if the fabric does not take well to glue.
 
 
Depending on where the piece went, I glued different parts. This was so that when I placed the final pieces in the chest, the edges of the first pieces would tuck under them to fill in any spots that may not have been otherwise covered where the edges met.
 
For the front and back pieces, I:
 
1. folded the top of the fabric over and glued it to the back
 
 
2. glued the bottom on the front side of the cardboard to secure the fabric
 
 
3. left the side pieces unsecured - you could tack these to the front with a bit of glue, if you like 
 
By not folding the bottom and sides over and gluing them to the back, there is fabric to tuck under the bottom and side caps once you begin placing the lining into the box.
 
 
Next I did the end caps (LH and RH sides). To do the end caps I folded over all of the sides, except the bottom, to the back and secured them. I left the bottom unsecured so that it could tuck under the bottom insert when putting the chest together.
 
 
To do the corners, I trimmed off some excess fabric, by cutting diagonally, and I folded them like I would when wrapping a gift. I made sure to use extra glue on the corners. I wanted it to get to all of the layers.
 
 
The right side piece had an additional cut out for the arm, that stops the lid from falling all the way back, as I could not remove the arm and place it on top of the completed lining. I made the cut out a bit longer than the arm, when it was in the closed positon, so that it would not damage the lining when the box was opened and closed. To secure the fabric to this cut out, I snipped the fabric to the corner, folded over the edges and glued them to the back. I then dabbed the corners with glue so they wouldn't fray. Depending on the fabric, you may not want to do this as certain fabrics such as satin do not look the same with glue on them.


 I don't have any pictures of the bottom insert but to do this piece, I folded all of the edges over and secured them to the back.
 
The lid was the exact same as the main box. For the front and back pieces, fold over and secure the top to the back of the cardboard. If you like you can secure the bottom to the front of the cardboard. To do the end caps (right and left sides) fold over and secure the top and both side to the back of the cardboard, leaving the bottom unsecured. The final insert, the top of the lid, will be glued on all sides.
 
In my case, my end caps for the lid were slightly curved. To stop the fabric from wrinkling, when secured on the curved side, I made snips along the curve that went almost all the way to the cardboard but not quite. I then secured the fabric as I would have with a completely straight end cap - fold over and glue to back.  


Once all of your pieces are covered, you want to install them into your box. Start with the pieces that have the most unsecured sides, in this case the front and back. Cover the backs of them in glue and put them in place. Be sure that the unsecured sides are in front of the insert, running along their respectable side. I made this very bad diagram to give you a visual. I hope it makes sense.
Next, install the end caps making sure that the loose fabric from the sides of the front and back are tucked behind these pieces. Again, make sure the unsecured bottom of the end cap is lying in front of the insert on the bottom.
 
 
Finally, you want to insert the bottom liner, making sure that the remaining edges of unsecured fabric are firmly underneath. I would use a lot of glue.
 
 
Do the same with the lid to install it. Front and back, sides then top.
 
 
This is what my final product looked like.
 
To make the chest more functional, I made a wooden box to sit just on top. It is about 6 inches deep and sits approximately 2.5" in the box. To support it, I covered two strips of wood that were 3/4" by 3/4" by 16" (a little less than the width of the box). I then nailed these to the chest's sides and placed the box on top. I made sure the box was approximately 1" smaller than the chest on every side so that the lid could easily close. To line the bottom of the removable box, I just covered a piece of properly sized Bristol board and placed it in. I did not glue it in.
 
 
I hope these instructions are easy to follow. Let me know if you have any questions.
Let me know what you think in the comments!


More Closet Organization

More closet ideas! There are so many different things you can do to help organize your closet that I thought I would share some more ideas with you.

The first idea is less about organizing your closet and more about making more "closet" space. There are many DIY ideas out there for making your own clothing rack from plumbing and PVC  to chairs. If you are lacking quality closet space, try keeping your stuff organized on a freestanding rack. If you don't feel like making one, save time and buy a prefabricated one.

Stack hangers with soda can tabs to hang multiple pieces of clothing from one spot. You can buy hangers and gadgets that will accomplish this but soda can tabs are pretty cheap and easy. Another organizer used large chain to obtain the same effect.


 Put your folded clothes into shoe boxes and then onto your self or in your dresser. This will let you seperate your clothes as you see fit and makes it easy to get items from the back of your drawers.


Use shower curtain rings to organize multiple scarves on a single hanger. You can pick up everything you need at the dollar store.


If your clothes don't hang that low, add an additional curtain rod to the bottom of your closet. This is great for kids clothes or a jacket closet.
 
Use hangers to cascade your bras. That way they can stop taking up valuable drawer space and be hung on the back of a door or in the closet.


6 Things Organized People Do

 
Write things down. Invest in a planner or agenda to keep track of your time and the things you need to do. Find one that is small enough to fit in your purse or pocket.

File important documents in a organized way that is easy for you to remember, whether it is alphabetically, chronologically or by group. You don't have to remember to file everyday. Keep a folder on top of the cabinet and put items in there that need to be filed. Also, think before you file. If you don't need to keep it then you shouldn't. It will only take up space.

Label! Labeling makes it much easier to remember what is where and where things go back. I label my storage totes and baskets, not only for me, but so my friends and family have an easier time navigating my house when they are over and I don't have to worry about losing anything because it was put back in the wrong place. Maybe that is crazy but so am I!

Declutter! Having less stuff means that you have more room, your home looks more organized and ultimately you will feel more relaxed. It also helps because when you declutter there is a better chance everything will have a designated space so you don't have to remember if the iron is on the shelf, under the sink or in the closet!

Designate a place for things that don't have to be dealt with right away. It can be a shelf, box or basket. I like to have mine by the front door so I can put things I just brought home in it until I find its new home within my house.

Don't listen to everything people tell you. Including me. I am not saying you should ignore people when they suggest tips and tricks but if you have a routine that works for you then keep doing it. The important thing is that your life stays organized. How you do that really isn't important.

Room by Room - Office

Whether your office is in a separate room or part of you general living space, keeping it organized can help keep your home looking clean and spacious. My office space happens to be in my living room. I have designated a specific area for office related tasks but unfortunately their just isn't enough space. For this reason, it is important I keep it organized.

As mentioned in my post about organizing your living room, I plan on building a table to go behind my couch that has a hinged expansion so that the couch table will turn into an extra workspace for homework and crafts. This way, the couch table will serve two separate functions in my shared room! If you need extra work space, take a look around and see if there is anyway to use your furniture, or create furniture that can serve multiple functions.


I also found an idea for organizing paperwork. By dividing your papers by purpose or task you can quickly sort documents when you get them. Once it is full, or you get a chance to empty each bucket, you can do it quickly. You also don't have to worry about piles growing on your workspace, taking up valuable area. I would probably include a folder for filing and mailing. 


My favourite addition to my office area is my "Useful Box" organizer. I got it as a gift from a friend but have also seen them at Walmart. It provides several compartments that are perfect for storing staples, paperclips, USB drives, erasers, binder clips, push pins and really any other small trinket you can think of. You can easily see into the box and grab what you need in an instance. It could also be used for craft supplies if your office doubles as a craft room.

 
I love the idea of making this giant chalkboard calendar. It would be pretty easy and would only require tape, paint brushes, chalkboard paint and a little time. It makes it easy to see what you need to do at a glance and is a fun way to spice up your office.


Instead of throwing all of your office supplies in your drawer, use drawer dividers or small boxes and trays to keep everything organized.

 
Try a little organization DIY by turning a shoebox into a charging station. It helps keep everything looking tide by tucking away your cables. Be careful not to create a fire hazard though!

 
I hope you enjoyed these tips. Keep an eye out for more!


Optimizing Space with Colour

The colour of your walls can really affect the mood. Although I always go for white because of its neutrality and brightness, that may not be your cup of tea. I decided to collect information about what moods are evoked by different colours to help you choose which one is right for you. I also provided a selection of light colours that will help keep your room large and bright but will also fit your style.

 
Freshome offers more details as well as a great pictograph of what colours to use in each room!
 
 
If you are looking to use light colours but whites and neutrals aren't what you are looking for, try some of the following. You could even go lighter!


Murphy Desk - Love It!

 
In previous articles, I have discussed the benefit of space saving furniture. I found this fantastic murphy bed/desk while perusing the internet and fell in love with it. It allows you to quickly turn your desk into a spare bed and would be great for an office or guest room. I think this is great because usually if your desk doubles as an alternative piece of furniture you spend a lot of time moving your things around! Not the case with this murphy bed. You can not only save space but time as well.

 
What do you think of this piece of space saving furniture?

Organizing Your Gaming Station

I know a lot of people who have multiple game systems which means multiple controllers, chargers, games, units and everything else that goes with gaming. On top of that their are the controllers for your sound system, TV, cable box etc.


To alleviate our controller issue, I found a decorative box that sits in the centre of our table. I put all of our controllers in it when they are not in use.


Alternatively, you could Velcro your remotes and controllers to various storage units and walls.


You could also invest in an ottoman that will hold all of your games and gaming accessories. This one is specifically for storing gaming stuff but you could use any ottoman.


Use a shoe organizer - gees these are versatile. You can store your remotes and controllers in it and if you want it hidden when guest come, it can be placed on the backside of the closet door.


Or theme your storage area to match it's purpose. This is something I will definitely do when I have my own house and kids, or maybe just the house. You can make all of the storage blocks open and paint 1' square storage boxes with question marks so that they can be taken out easily. I believe the question marks are doors in this photo.


Or just use a drawer. You can use bins or drawer dividers to help separate everything. Bonus - newer systems don't have as many cords so you don't have to worry about tangling.


How do you keep your games and accessories in order?