Showing posts with label DIY. Show all posts

Sunday, 22 November 2015

Revamped Chest

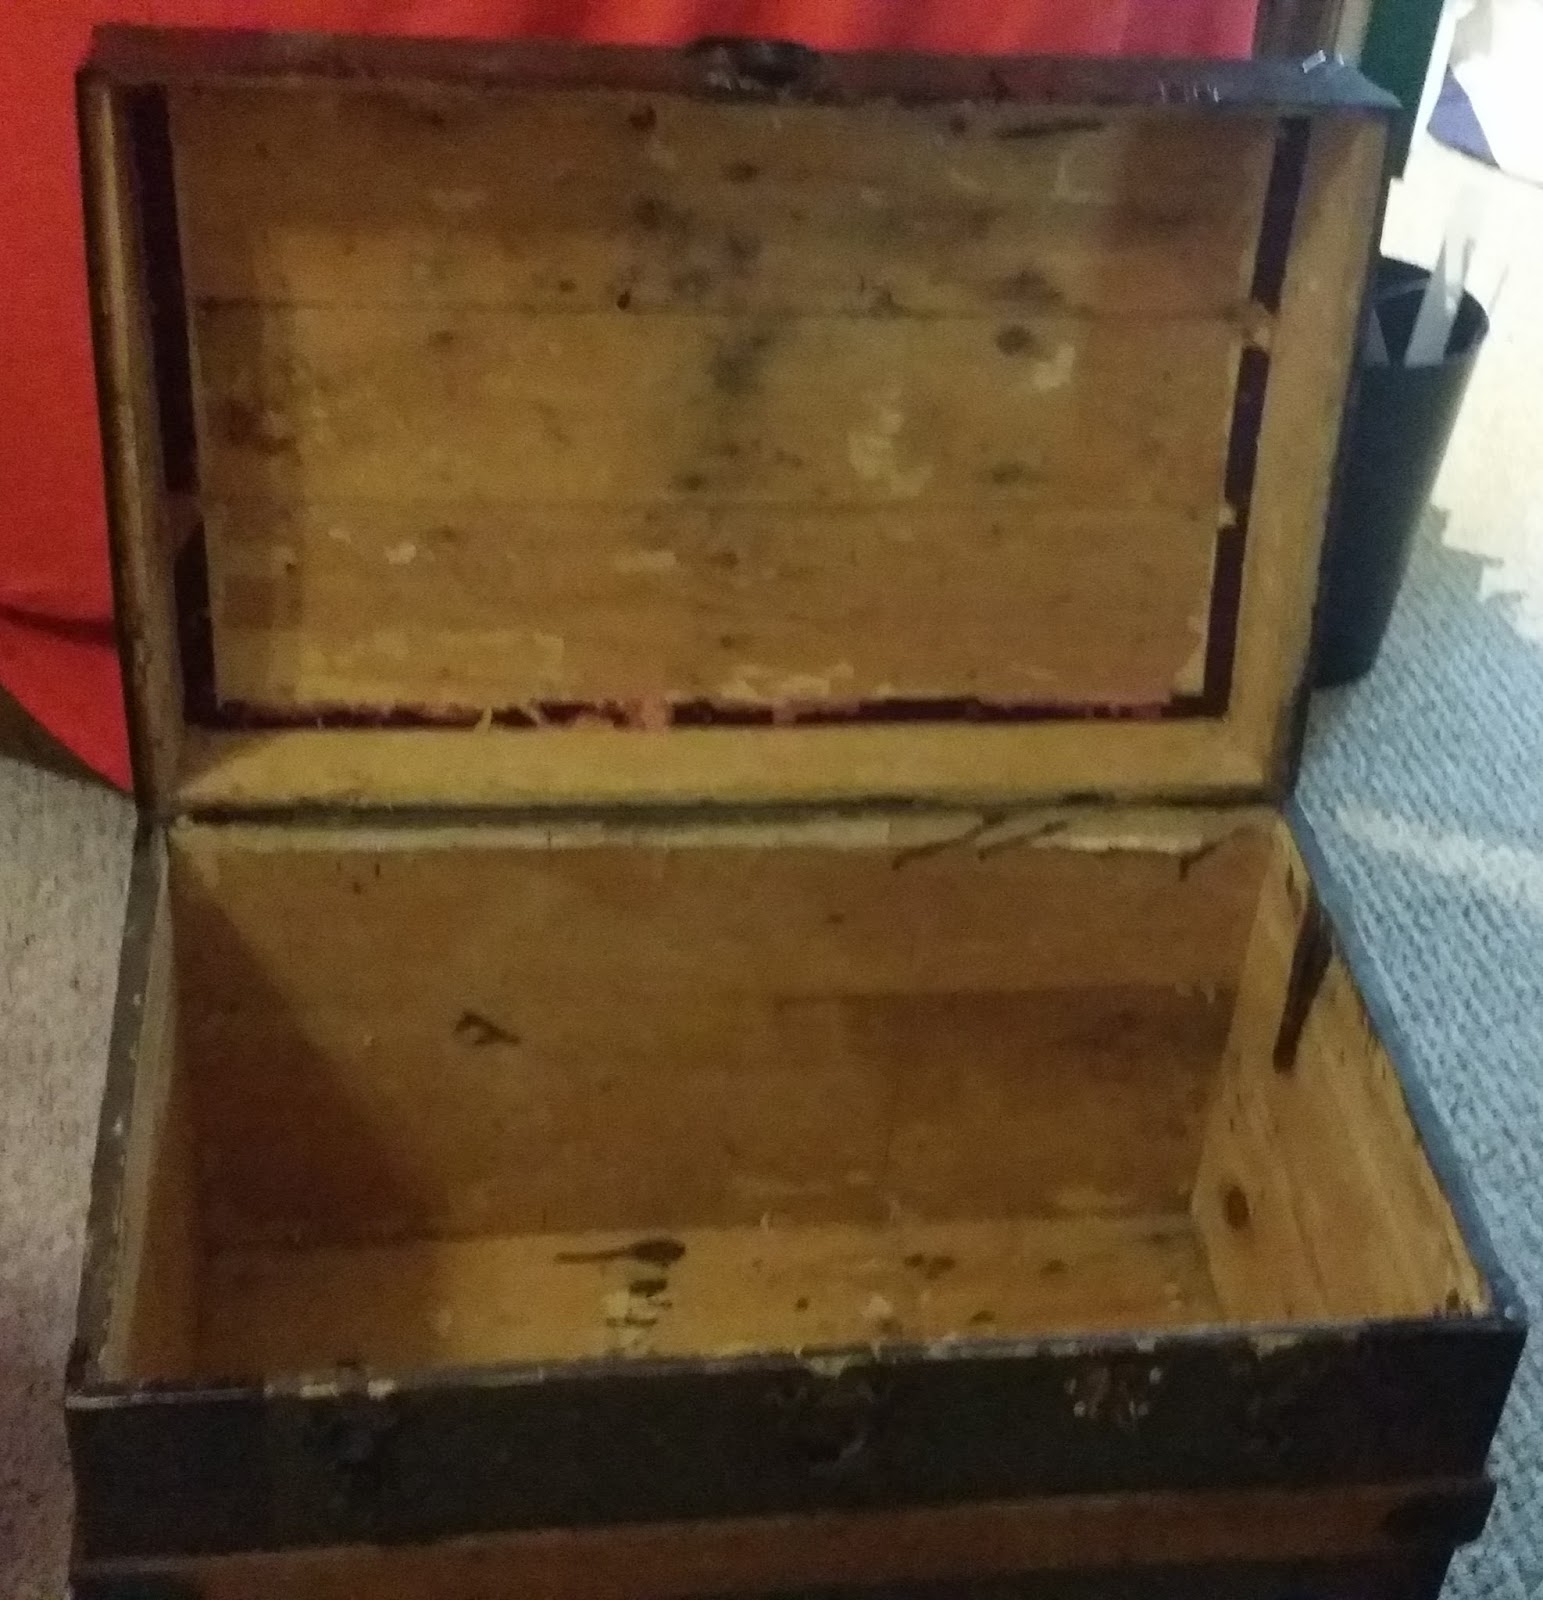
I found this great old chest at a garage sale for very little money. It smelled old and was lined with painted paper. I removed the paper by spraying it with a water vinegar mixture and scrapped it once the mixture had soaked in. I would have used just water but vinegar helps kill bacteria and reduces the mildew smell.
 
Once I removed the paper I left the chest to dry in a warm room. I also used a no damp - they are often used in the marine industry during winter. You can probably pick one up at your local marina or Canadian tire and it absorbs moisture. I left the chest for a few days.
 
I then used some odor eliminators made of bamboo charcoal and Kanberra Gel. Kanberra Gel is a tea tree based odor eliminator and bacteria killer. By the time I was done, the chest smelled as good as new.
 
 
The next step to transforming my chest was lining it. To do so I measured all the sides and cut Bristol board to fit. My measurements were a bit off so I had to trim here and there but eventually they all fit. I wrote where they belonged (LH side, RH side, front back, lid) on the front with an arrow pointing to the top. In the future I would write it in the back of the cut-out because I ended up covering the words with fabric.
 
 
Once I had all of the cardboard cut outs, I cut my fabric. I made it at least one inch wider on every side. I could have made a concerted effort to match the image so that it flowed but I chose not to. Once I cut out the fabric, I started gluing.
 
 
Originally I was going to use double sided sticky tape to attach the fabric but unfortunately my double sided sticky tape was single sided tape - which took me forever to figure out because I just thought it was ill made and hard to get the backing off. Double sided tape is also good for securing fabric to cardboard, in visible areas, if the fabric does not take well to glue.
 
 
Depending on where the piece went, I glued different parts. This was so that when I placed the final pieces in the chest, the edges of the first pieces would tuck under them to fill in any spots that may not have been otherwise covered where the edges met.
 
For the front and back pieces, I:
 
1. folded the top of the fabric over and glued it to the back
 
 
2. glued the bottom on the front side of the cardboard to secure the fabric
 
 
3. left the side pieces unsecured - you could tack these to the front with a bit of glue, if you like 
 
By not folding the bottom and sides over and gluing them to the back, there is fabric to tuck under the bottom and side caps once you begin placing the lining into the box.
 
 
Next I did the end caps (LH and RH sides). To do the end caps I folded over all of the sides, except the bottom, to the back and secured them. I left the bottom unsecured so that it could tuck under the bottom insert when putting the chest together.
 
 
To do the corners, I trimmed off some excess fabric, by cutting diagonally, and I folded them like I would when wrapping a gift. I made sure to use extra glue on the corners. I wanted it to get to all of the layers.
 
 
The right side piece had an additional cut out for the arm, that stops the lid from falling all the way back, as I could not remove the arm and place it on top of the completed lining. I made the cut out a bit longer than the arm, when it was in the closed positon, so that it would not damage the lining when the box was opened and closed. To secure the fabric to this cut out, I snipped the fabric to the corner, folded over the edges and glued them to the back. I then dabbed the corners with glue so they wouldn't fray. Depending on the fabric, you may not want to do this as certain fabrics such as satin do not look the same with glue on them.


 I don't have any pictures of the bottom insert but to do this piece, I folded all of the edges over and secured them to the back.
 
The lid was the exact same as the main box. For the front and back pieces, fold over and secure the top to the back of the cardboard. If you like you can secure the bottom to the front of the cardboard. To do the end caps (right and left sides) fold over and secure the top and both side to the back of the cardboard, leaving the bottom unsecured. The final insert, the top of the lid, will be glued on all sides.
 
In my case, my end caps for the lid were slightly curved. To stop the fabric from wrinkling, when secured on the curved side, I made snips along the curve that went almost all the way to the cardboard but not quite. I then secured the fabric as I would have with a completely straight end cap - fold over and glue to back.  


Once all of your pieces are covered, you want to install them into your box. Start with the pieces that have the most unsecured sides, in this case the front and back. Cover the backs of them in glue and put them in place. Be sure that the unsecured sides are in front of the insert, running along their respectable side. I made this very bad diagram to give you a visual. I hope it makes sense.
Next, install the end caps making sure that the loose fabric from the sides of the front and back are tucked behind these pieces. Again, make sure the unsecured bottom of the end cap is lying in front of the insert on the bottom.
 
 
Finally, you want to insert the bottom liner, making sure that the remaining edges of unsecured fabric are firmly underneath. I would use a lot of glue.
 
 
Do the same with the lid to install it. Front and back, sides then top.
 
 
This is what my final product looked like.
 
To make the chest more functional, I made a wooden box to sit just on top. It is about 6 inches deep and sits approximately 2.5" in the box. To support it, I covered two strips of wood that were 3/4" by 3/4" by 16" (a little less than the width of the box). I then nailed these to the chest's sides and placed the box on top. I made sure the box was approximately 1" smaller than the chest on every side so that the lid could easily close. To line the bottom of the removable box, I just covered a piece of properly sized Bristol board and placed it in. I did not glue it in.
 
 
I hope these instructions are easy to follow. Let me know if you have any questions.
Let me know what you think in the comments!


Saturday, 21 November 2015

Using Empty Mint Tins to Organize

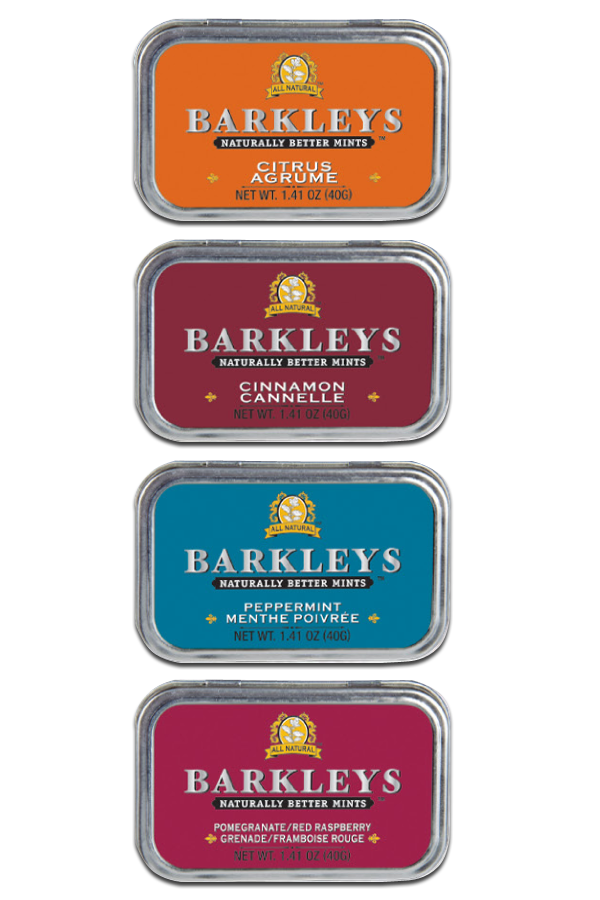
I love Barkley's Mints. They are delicious and they come in these really great tins - like Altoids.

I always keep them because I plan on doing something with them and last night I found some really great ideas on Pinterest.


The first idea was to use it as a mini first aid kit for your purse, pocket or backpack. You can put in items like self-adhesive bandages, alcohol wipes, cotton swabs, tweezers and baggies with your medication. One crafter even added emergency contact information.


Similarly, some were repurposed into sewing kits for your bag. These kits included needles, safety pins, seam ripper, thread, buttons, thimbles and mini scissors. This would be great for travelling and to have on hand for emergency fixes. Maybe include a sample bottle of clear nail polish for torn nylons.

I also liked the idea of using it to keep everyday purse items in one spot. That way you don't have to dig to the bottom trying to find them. Some of the tins I saw included items from the above ideas as well as mini nail files, nail clippers or a utility knife.

 
You can even make one for that outdoor explorer in your life.
 
 
Have you repurposed a mint tin lately? What would you use it for?


Friday, 20 November 2015

After Organizing My Bedroom - Part 1

So my bedroom is on its way and I wanted to show you some of the progress!
 
The Afters
 
I absolutely love the new layout and colour. The room seems so much bigger and I believe it is only 10' X 10', so that is saying something. Configuration and colour are definitely important aspects of making a small space larger.
 
 
You may notice my colourful cart by the TV. This is full of crafts - lots of them. I got it from Michael's and it was a bit pricey but I had a coupon and it is perfect for my most often used crafts! The bed also has two new drawers under it - I took these from the big black dresser I got rid of and it was a surprisingly perfect fit.
 
It does still look a little bland but that is because I still have a bit to do. I have a shelf to put above the bed which will display some of my treasures and superhero themed bobble heads. I also have some artwork, I picked up at the Toronto Fan Expo, to decorate the walls - the Avengers, Captain America and Indiana Jones I believe. The mirror behind the chest is the one I plan on using for my storage mirror - see Jewellery Storage without the Box.
 
You will also notice that the after photos do not include pictures of the shelving unit. It is still there but that is part of what is left to do, along with putting some sort of covering up behind the dresser to hide my DIY jewellery box artwork. I also want to hid the TV wires in some sort of white tubing.
 
I hope the transformation inspires you to transform something in your small space!
I will keep the After Photos coming!
 
Let me know what you think!


Before Organizing my Bedroom

I decided to organize my bedroom. This time I remembered to take before pictures. It will be quite the undertaking but I think it is worth it.
 
The Befores
 
As you can likely see from these pictures, there is not a ton room. The furniture is huge and every inch of space is being used. There was a foot and a half walking space on either side of the bed and only two or three feet in front of it. Every inch was full and it was dark - darker then it looks in the pictures surprisingly.
 
 
This is the primary reason I made I room layout. To find out about making a room layout, read How to Easily Test Room Configurations - Make a custom layout.
 
Now, it probably would have made more sense to paint first and then configure the room but I like doing things the hard way. When I did eventually paint, I went for a white with a tint of blue grey - the same colour as my living room. The reason I chose white is because it brightens the room and let's me use whatever coloured furniture and artwork I want. I don't have to worry about it clashing.
 
I can't wait to show you what I have done!
 
Keep an eye out for the transformation.


Saturday, 14 November 2015

How to Easily Test Room Configurations - Make a custom layout

One of the best ways to make a small space seem bigger is to place your furniture in the best possible configuration but furniture is big and heavy making it unappealing to move around just to see how it may look. At least that was the case for me. As a result, I made myself a room layout.

Originally it started out as just my bedroom, because that was my focus at the time, but once I had the room drawn out and the furniture cut out, I realized it would be fun to do the whole apartment so I did. I wish I had have taken pictures of my progress (for this and several other projects too) but I can show you the finished product and share what I learned.

Firstly, determine what scale you want to use (mine was 1 mm for 1 inch) and a rough estimate of the rectangular foot print of you house, room or apartment. This will allow you to get the right size piece of paper (as you can see in the final photo), I had to add more to mine.


Now, gather your materials:

Ruler
Measuring tape
Pencil
Scissors
Paper for drawing
Paper for notes


Next you want to accurately measure your space. I would suggest doing the shell first and then the individual rooms. I also suggest having some help - it would have been easier if I had someone to hold the other end of the measuring tape. It also would have helped to have a measuring tape that was long enough to measure things...oops!

As a side note - consider the width of the walls in your drawing. You may have already thought about this but I forgot and when I was checking my numbers everything was off.

Once you have the floor plan start measuring, drawing and cutting out your furniture. As a reality check, I laid my furniture on my floor plan as it was in my apartment and double checked my measurements by comparing the space between my furniture was accurate to the real spaces (this is when I realized that I hadn't considered the width of the walls between rooms).

This was my final product - a poorly taken picture of it at least. I happened to have an old bulletin board so I placed my layout on it and used push pins so that I could easily move furniture but also have everything stay put if I accidentally moved it.

 
My ultimate plan is to either paint the bulletin board white and redraw the room onto it or to use a cheap metal cookie sheet painted white. The benefit of the metal pan is I can put magnets on the back of my furniture pieces so they will stay in place but I won't have pins popping out everywhere. I also want to colour my furniture so they stand out more and match their real life equivalents. I will try my best to take photos when I do this!

Hope you enjoyed. If you make your own please share it with us!